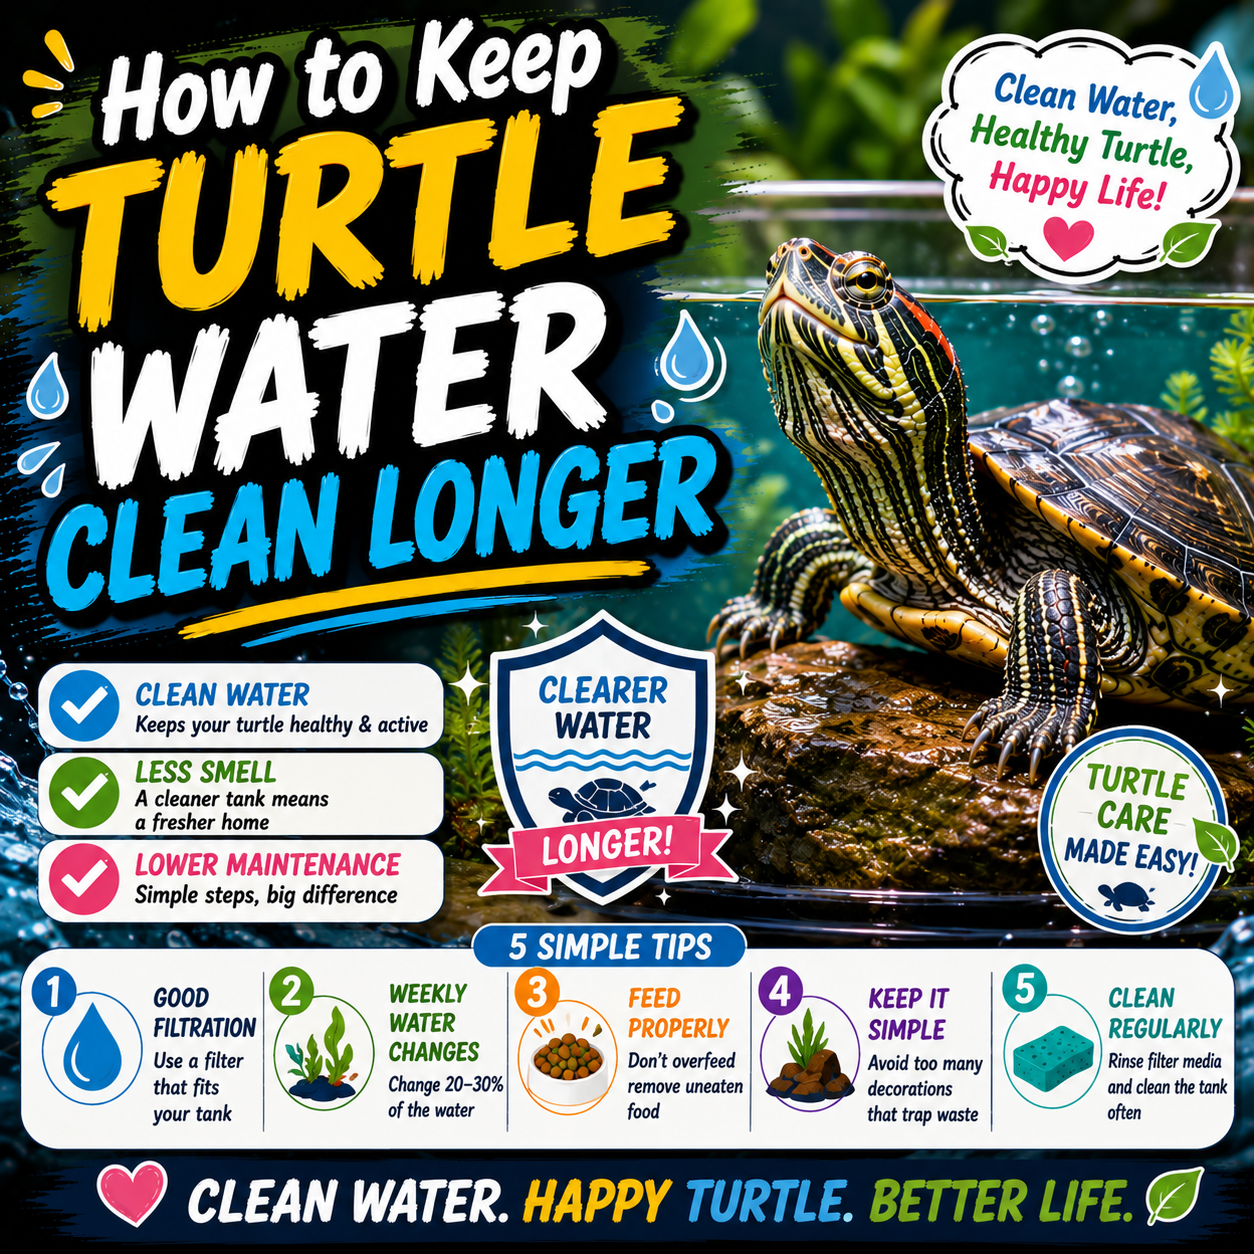
Ask any aquatic turtle owner about their biggest headache, and they will likely give you a one-word answer: Water.
Turtles are notorious for being exceptionally messy pets. They eat sloppily, shed skin fragments continuously, and produce a massive organic waste load compared to aquarium fish. If you rely on basic aquarium setups, your crystal-clear tank can easily turn into a murky, foul-smelling swamp within a matter of days.
Constantly changing 100% of the water isn’t just exhausting for you—it actually stresses your turtle and ruins the tank’s biological balance. So, how do you keep turtle water clean longer?
Let’s dive into 6 proven, professional strategies to maximize your water clarity and slash your tank maintenance time in half.
1. Upgrade to a Heavy-Duty External Canister Filter
If you are using a standard internal filter that clips onto the inside of your tank, you are fighting a losing battle. Turtles produce far too much ammonia for small filters to handle.
To keep your water clear for weeks on end, you need to invest in a robust external canister filter.
- The Over-Specification Rule: Always buy a filter that is rated for two to three times the actual volume of your turtle tank.$$\text{If your turtle lives in a 50-gallon setup} \longrightarrow \text{Buy a filter rated for a 150-gallon fish tank.}$$
Canister filters feature massive internal compartments that allow you to pack heavy layers of mechanical sponges (to trap floating debris), chemical media like activated carbon (to neutralize odors and yellow tints), and ceramic biological rings (to house waste-eating beneficial bacteria).
2. Utilize a Separate Feeding Tank
Turtles are aggressive, messy eaters that love to tear their food apart, leaving microscopic food particles floating everywhere. These uneaten leftovers quickly rot, causing massive bacterial blooms, cloudiness, and pungent odor spikes.
The ultimate secret weapon to keeping your main tank clean is the feeding bucket method:
- Fill a small, separate plastic tub or bucket with clean, warm water from your main tank.
- Transfer your turtle into this temporary feeding zone.
- Drop in their pellets, insects, or fresh greens, and let them eat for 15 to 20 minutes.
- Once they are finished (and have ideally done their post-meal bathroom business), scoop them out and place them back into their pristine main habitat. Throw away the dirty feeding water.
3. Keep the Bottom Bare (Ditch the Gravel)
While standard aquarium gravel looks colorful, it acts like a giant magnet for turtle waste, shed skin, and debris. Waste slips between the cracks where your filter cannot reach it, continuously rotting and ruining your water quality. Furthermore, small gravel is a dangerous choking hazard for curious turtles.
- Go Bare-Bottom: Leaving the glass floor completely bare makes it incredibly easy for your filter’s intake tube to suck up debris. It also allows you to quickly use a siphon vacuum to clean the floor in under two minutes.
- The Alternative: If you hate the look of bare glass, use large, smooth river stones that are physically larger than your turtle’s head. Debris is much easier to clear from these larger surfaces, and your turtle cannot accidentally swallow them.
4. Establish a Solid Beneficial Bacteria Colony
Crystal-clear water isn’t just about straining out floating dirt; it’s about microscopic chemical management. When your turtle releases waste, it creates toxic ammonia.
A healthy tank relies on the Nitrogen Cycle, where colonies of beneficial bacteria living inside your canister filter naturally consume ammonia and convert it into harmless elements.
- Do Not Scrub Everything with Tap Water: Chlorine in tap water instantly kills this invisible workforce. Always rinse your filter media in a bucket of dirty tank water to preserve your bacteria colony.
- Use Sludge-Busting Additives: Regularly dose your tank with commercial liquid beneficial bacteria boosters. These safe enzymes actively “eat” organic waste on the tank floor and inside the plumbing, extending your water clarity naturally.
5. Stick to the 10-Gallon-Per-Inch Space Standard
If you crowd a large turtle into a tiny body of water, it will become toxic almost instantly. Dilution is your best friend when managing waste. The more water volume you provide, the longer it takes for waste to cloud the environment.
Always optimize your habitat by adhering to the standard spacing calculation:
$$\text{Minimum Water Volume} = 10\text{ Gallons per 1 Inch of Turtle Shell Length}$$
If you have an adult female Red-Eared Slider that stretches 10 inches long, she requires an absolute minimum of 100 gallons of actual water volume to maintain long-term biological stability.
6. Perform Weekly 25% “Micro” Water Changes
Many beginner keepers wait until the water is completely green or foul-smelling before performing a massive, exhausting 100% water change. This is a critical mistake that shocks your turtle’s system and completely resets your biological filtration.
Instead, execute a quick 25% to 30% partial water change every single week using a gravel siphon vacuum.
- By vacuuming the floor and replacing just a quarter of the volume, you easily extract accumulated nitrates and debris before they can build up and cloud the water.
- Crucial: Always treat incoming tap water with a premium water conditioner to neutralize toxic chlorine before it hits your turtle’s sensitive eyes.
Summary: The Water Clarity Cheat Sheet
| Action | Why It Works | Effort Level |
| Over-specifying the filter | Processes heavy ammonia loads effortlessly. | 🛠️ Set and forget |
| Using a separate feeding tub | Keeps 90% of food waste and oils out of the main tank. | ⏱️ 15 mins per meal |
| Removing aquarium gravel | Prevents waste traps and allows effortless vacuuming. | 🛠️ One-time change |
| Weekly 25% siphon drains | Removes waste build-up before it triggers cloudiness. | ⏱️ 10 mins weekly |
Conclusion: Work Smarter, Not Harder
Keeping your turtle’s water pristine doesn’t mean you have to spend your weekends scrubbing glass and hauling heavy buckets. By upgrading to a high-capacity canister filter, moving mealtime to a separate feeding container, keeping the tank floor clear, and maintaining consistent partial water changes, you can enjoy a beautifully clear view of your prehistoric pet for weeks on end.
Invest in a robust ecosystem setup, protect your beneficial bacteria, and give your shelled companion the sparkling clean habitat they deserve!